
AIR20 Support
June 27, 2024
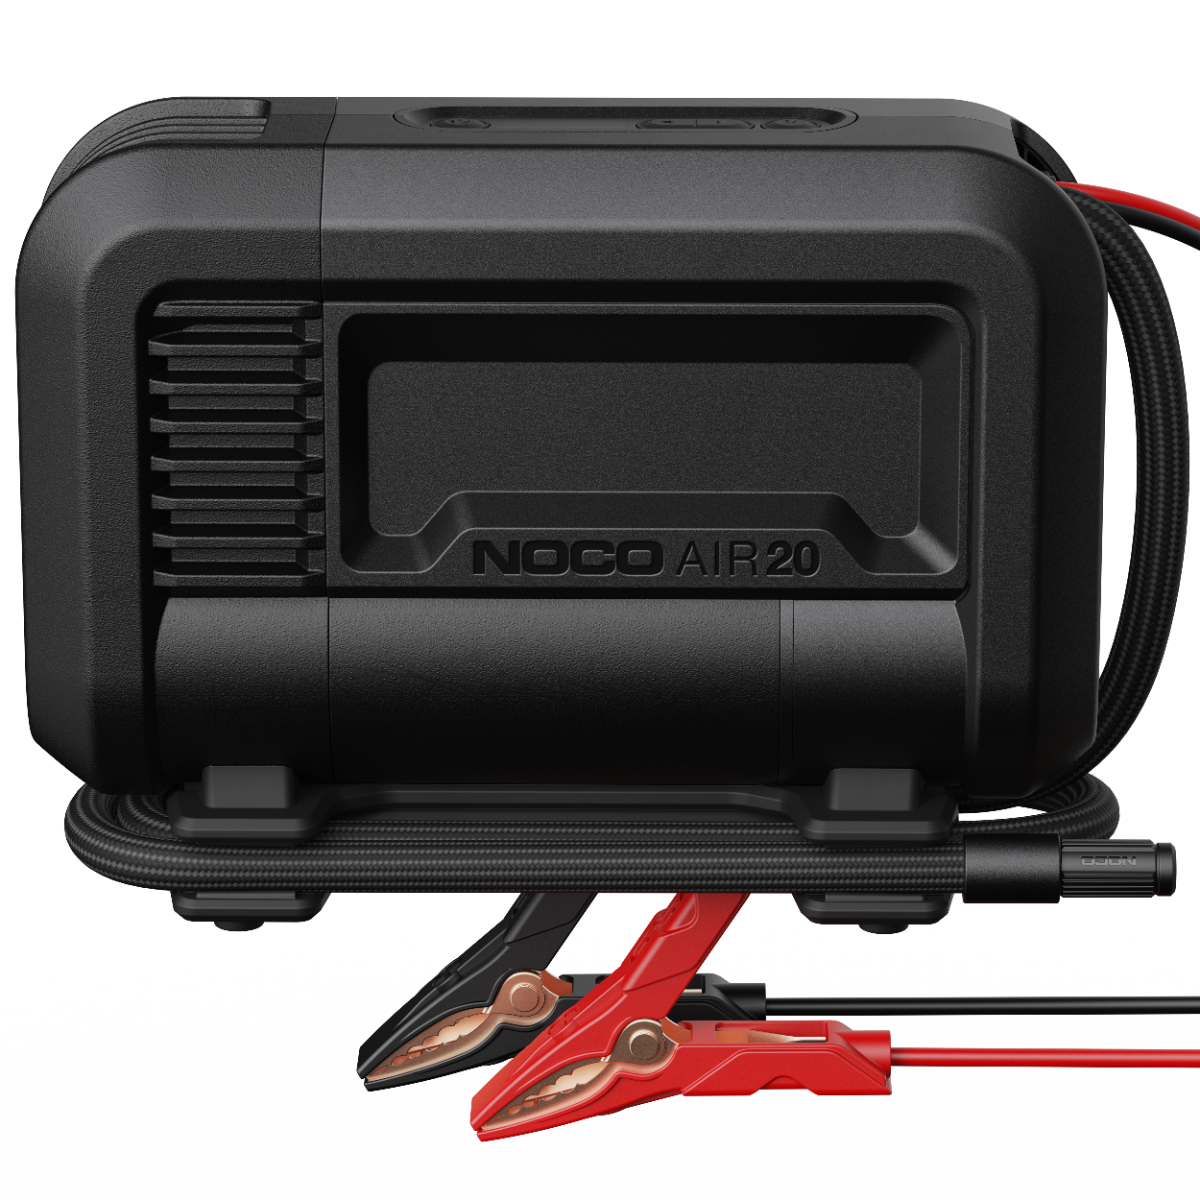

AIR20
Support.
USER GUIDEDATASHEETEasy To Use.
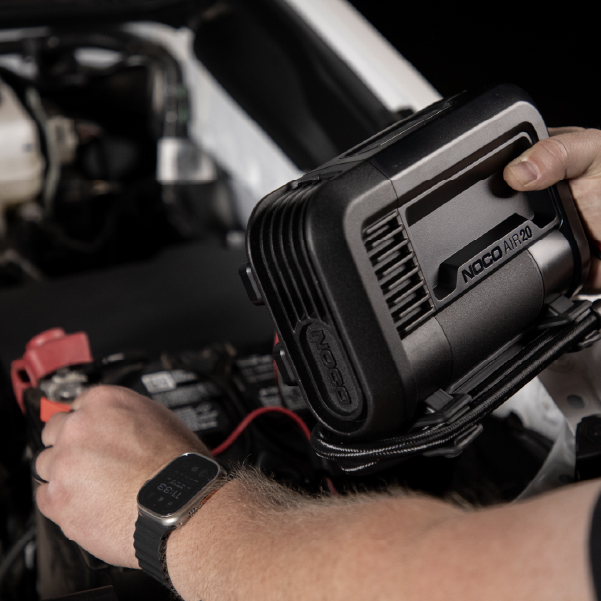
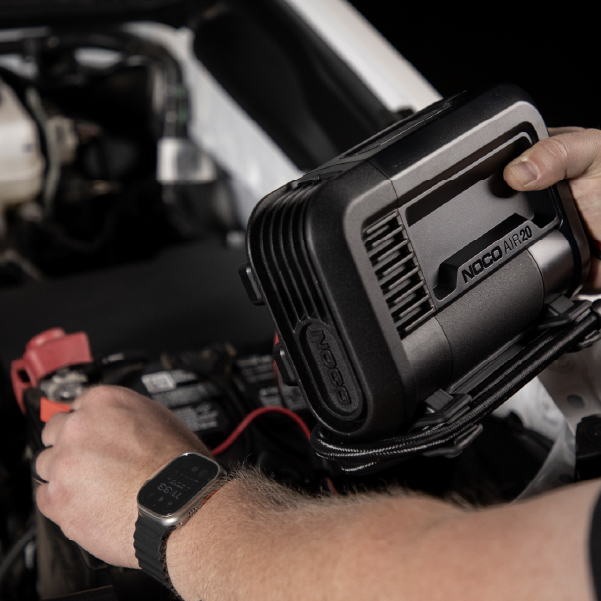
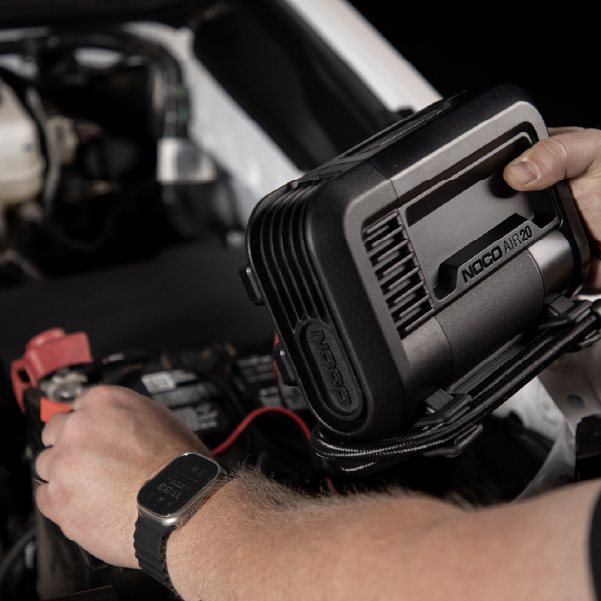
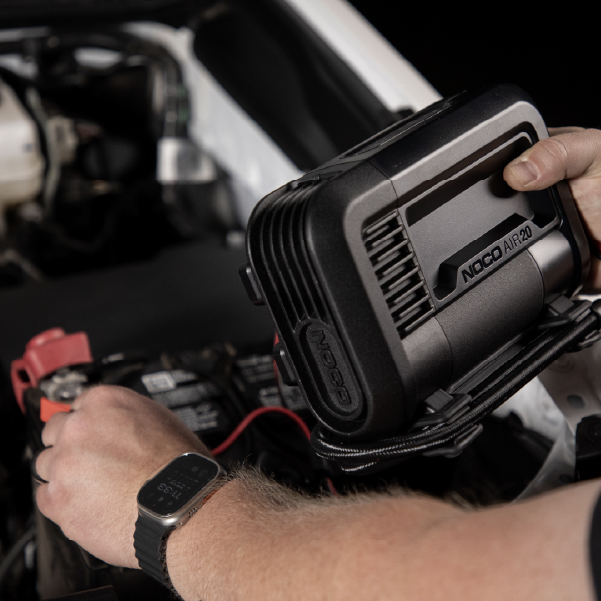
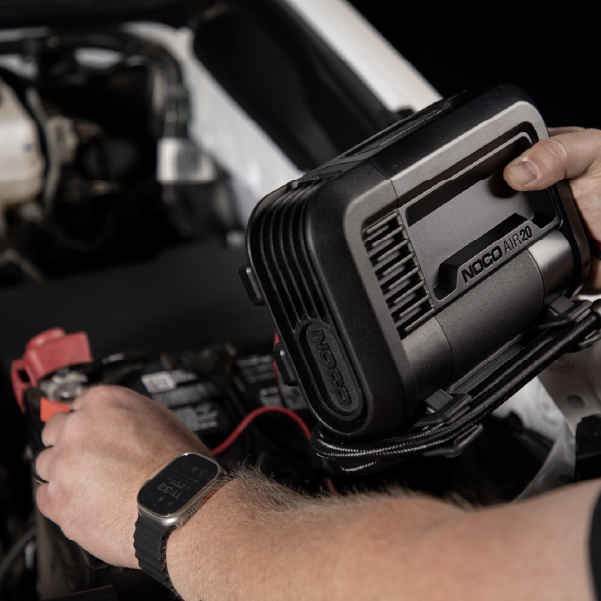
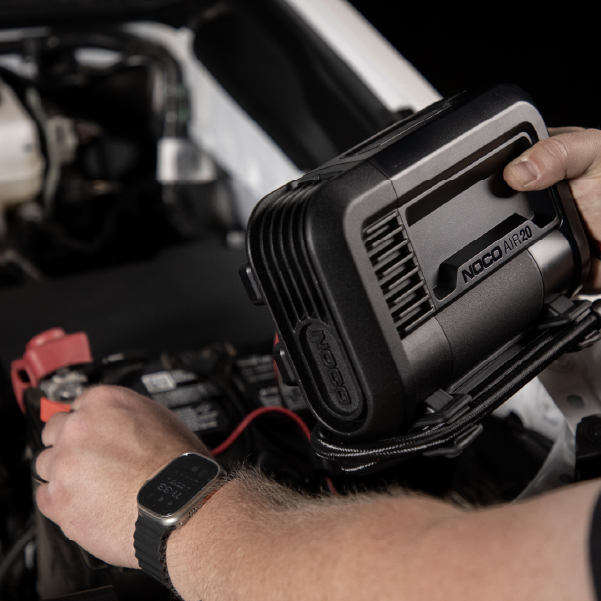
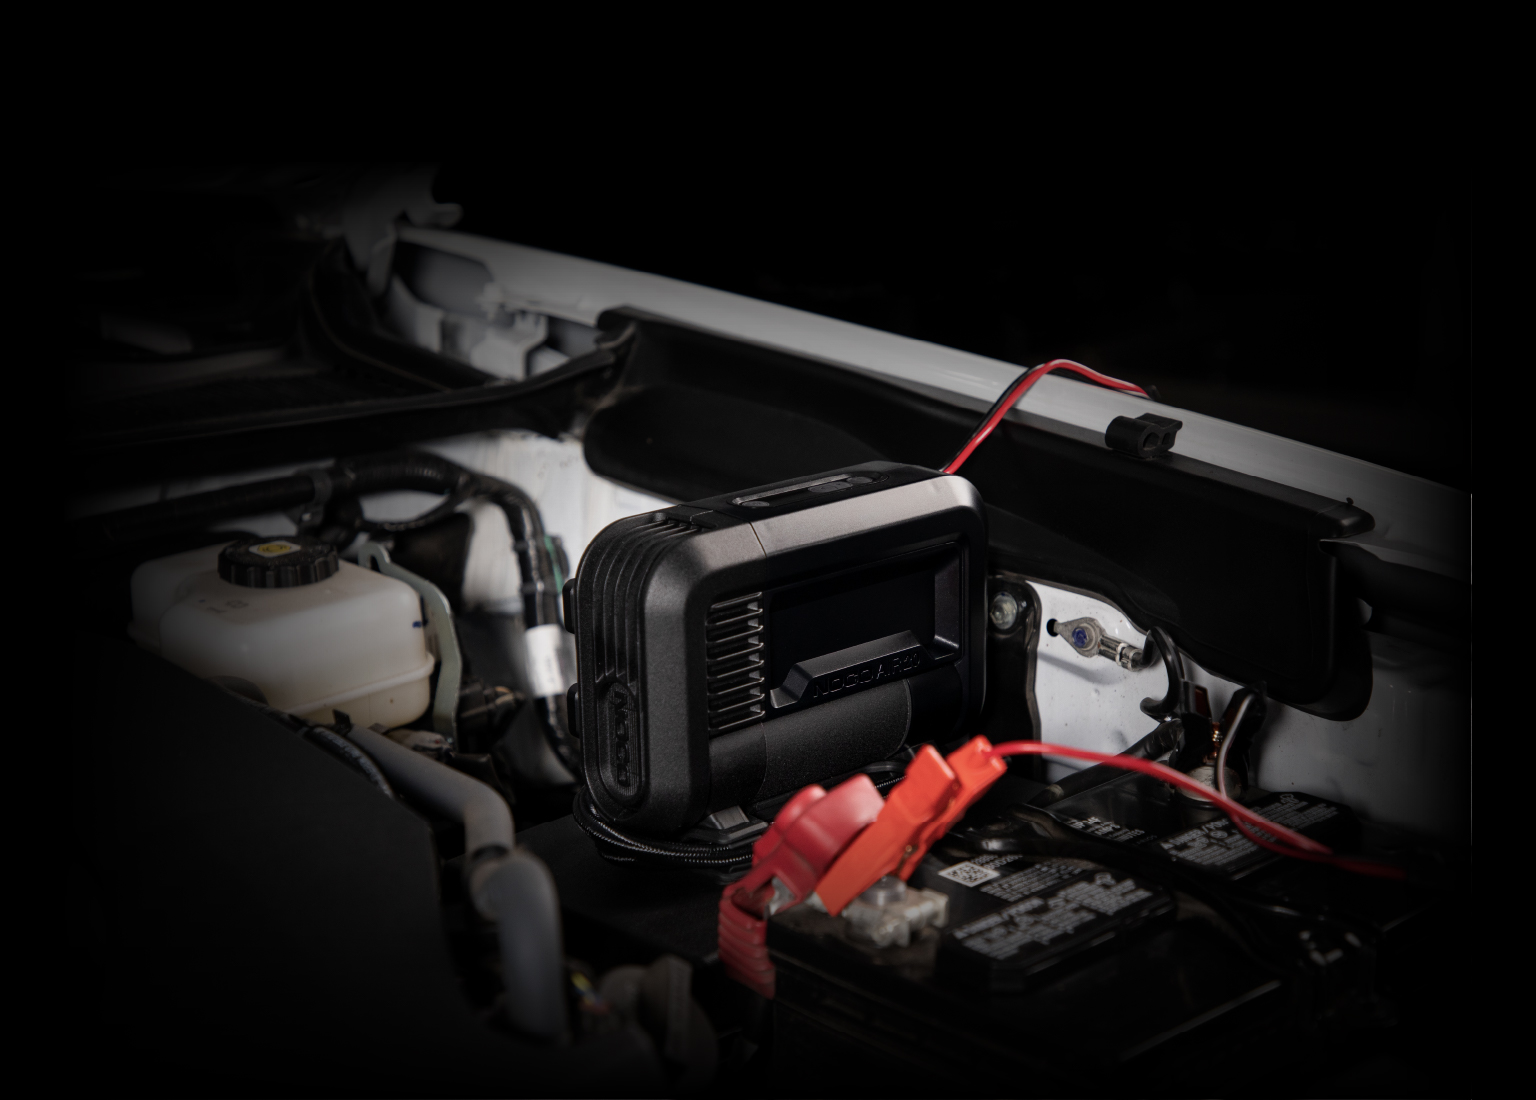
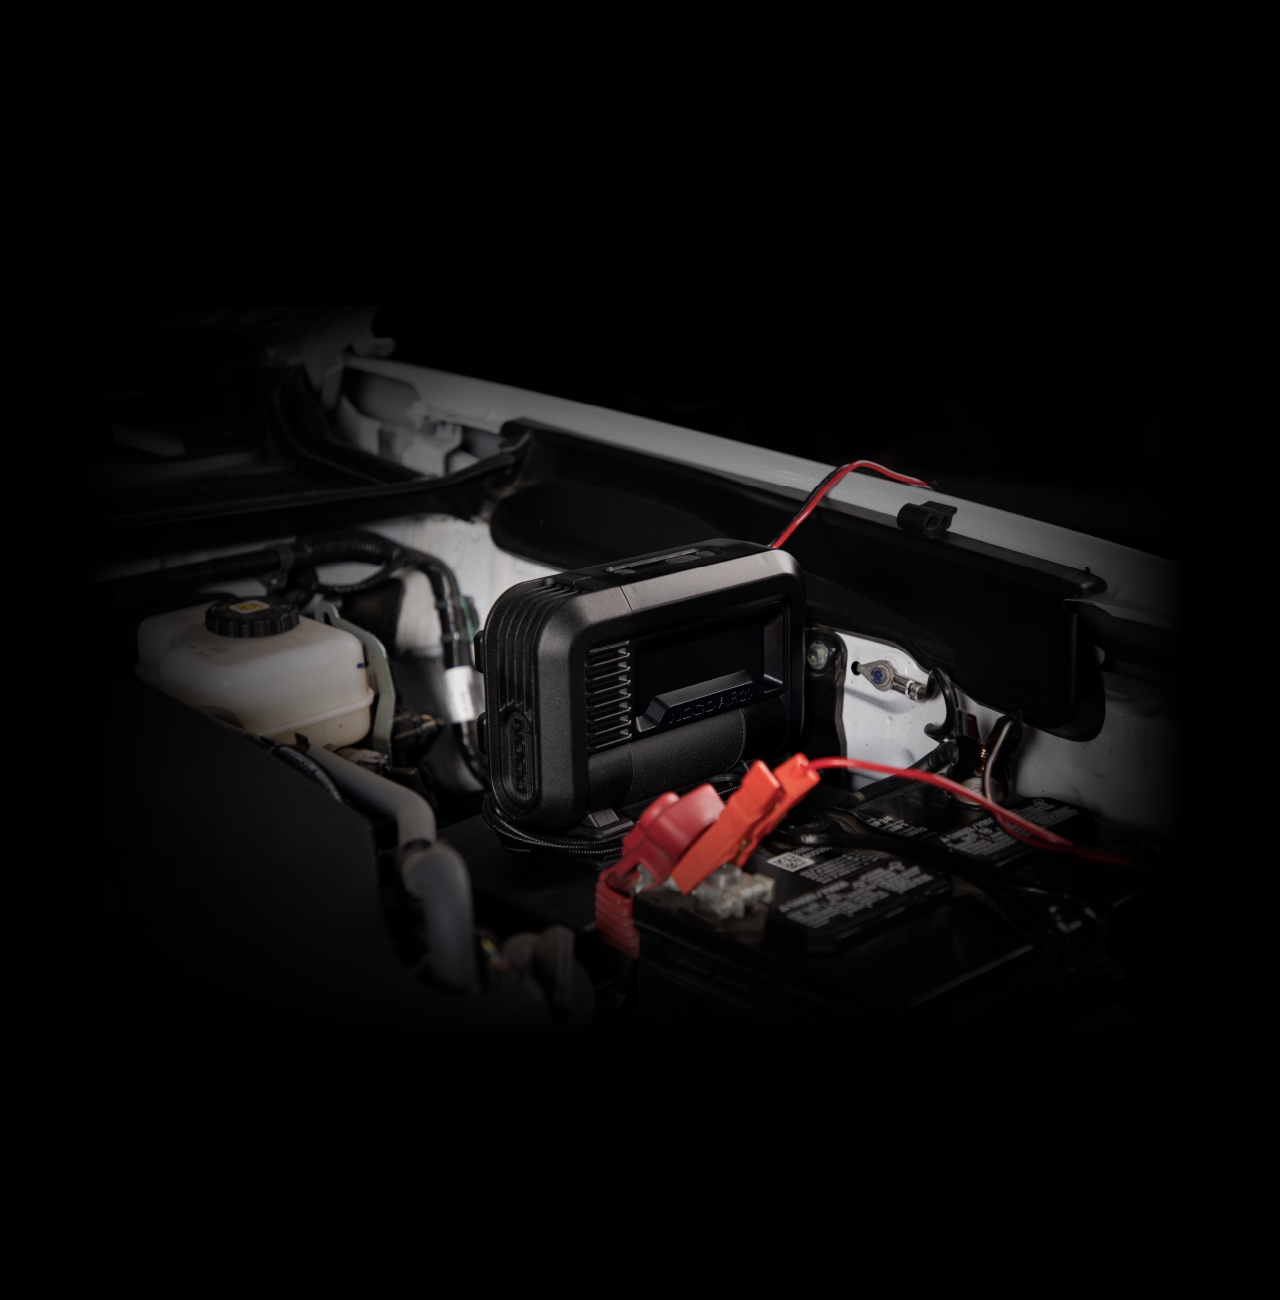
CONNECT TO BATTERY.
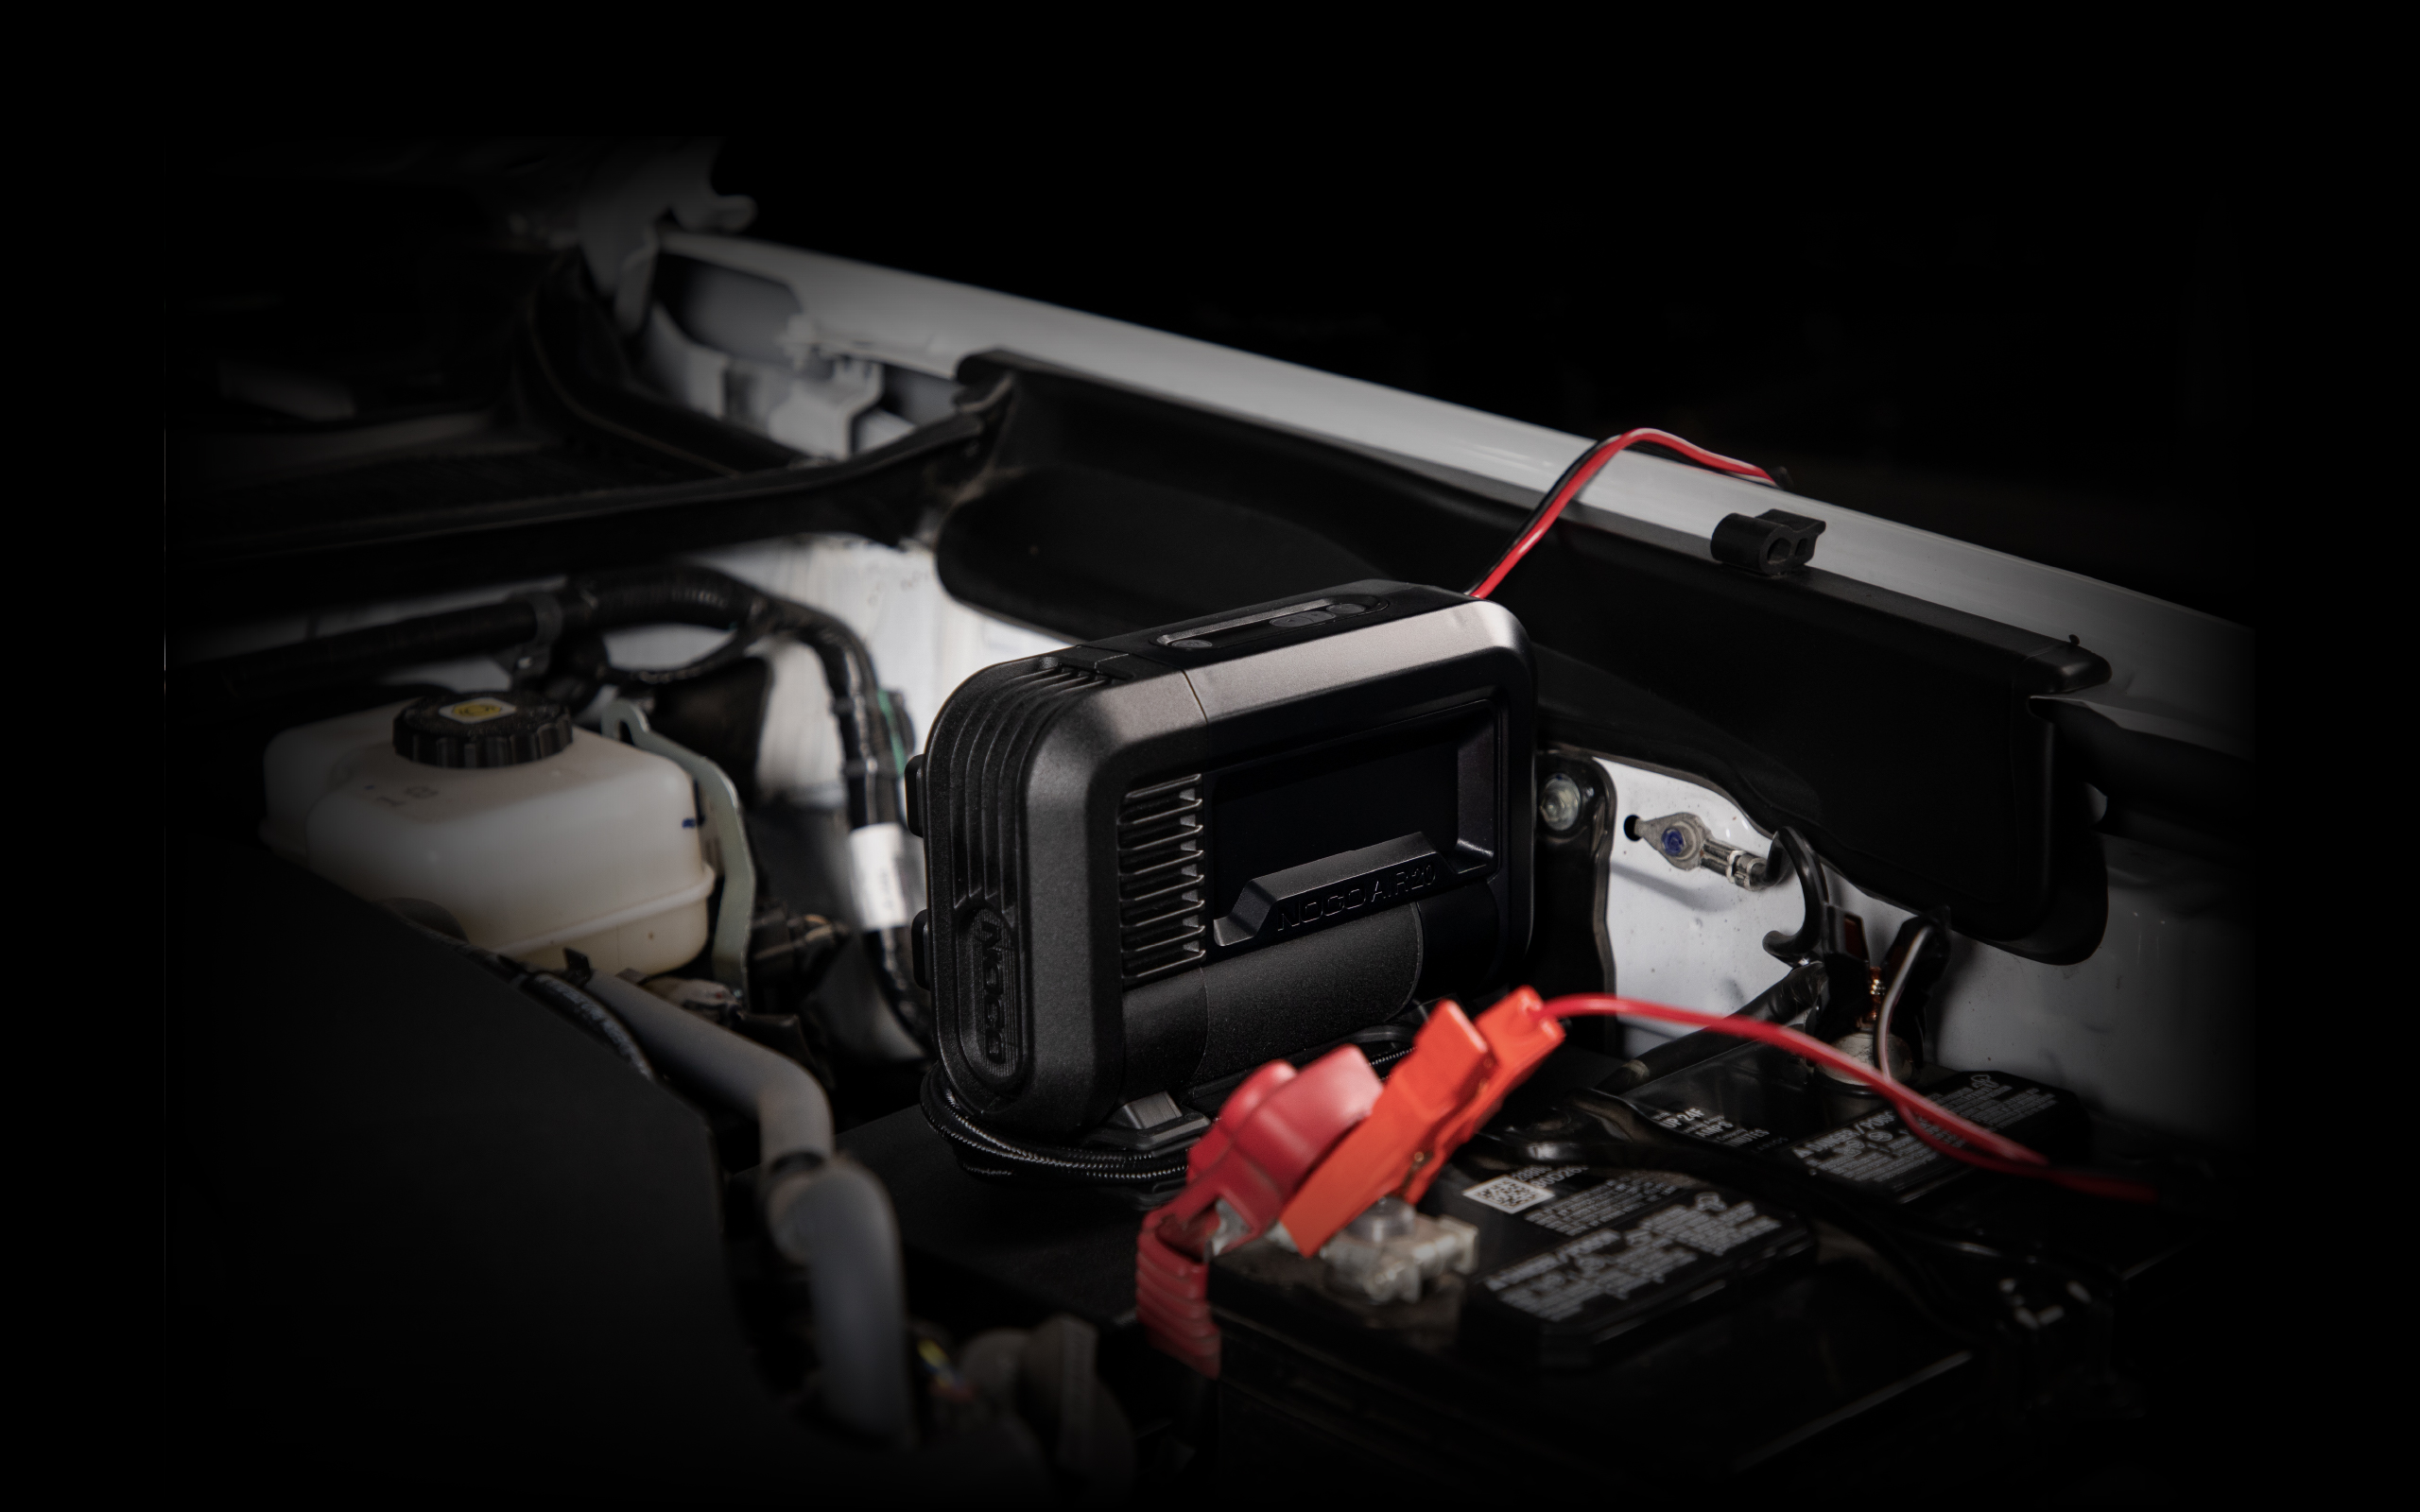
Connect the POSITIVE battery clamp from the portable inflator to the POSITIVE ungrounded battery terminal. Connect the NEGATIVE battery clamp from the portable inflator to the NEGATIVE battery terminal.
CONNECTING AIR HOSE.
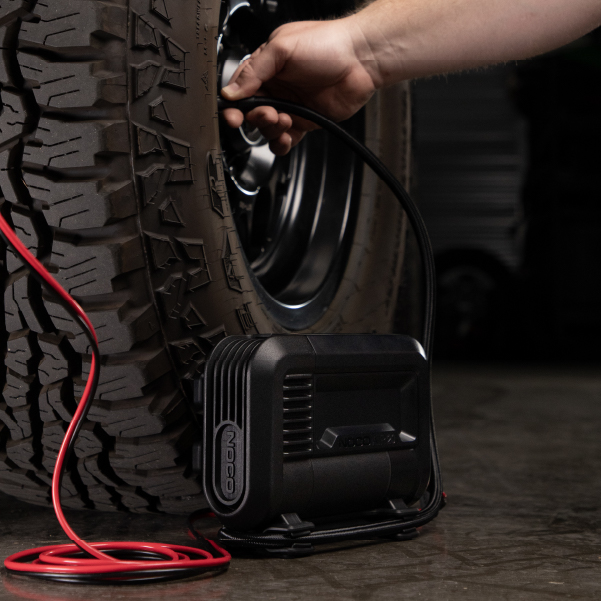
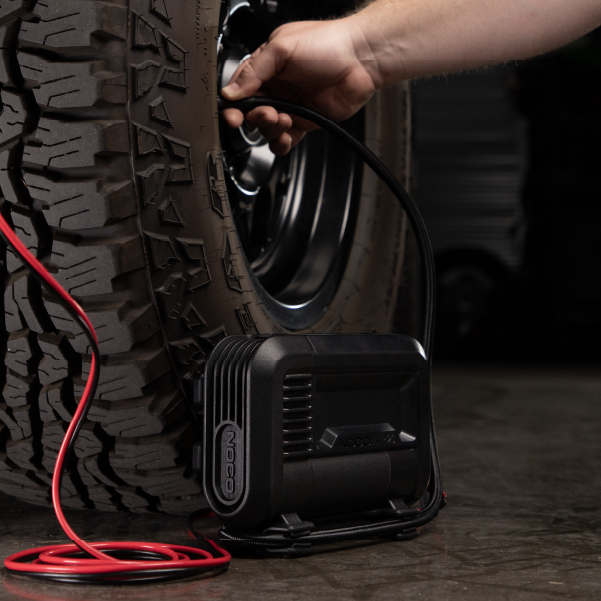
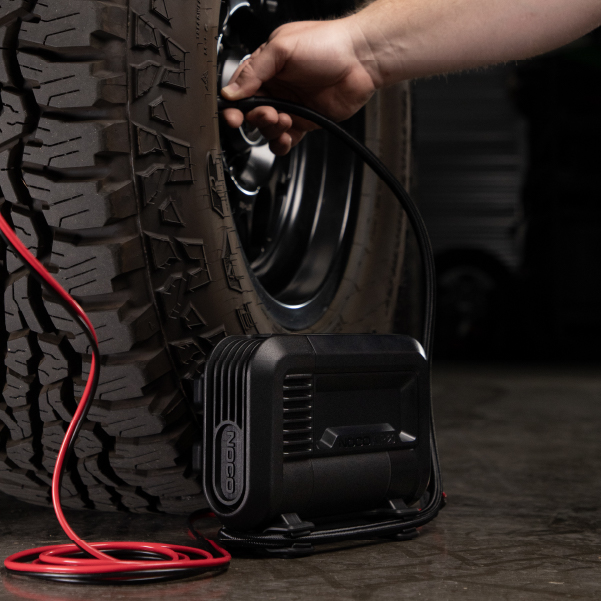
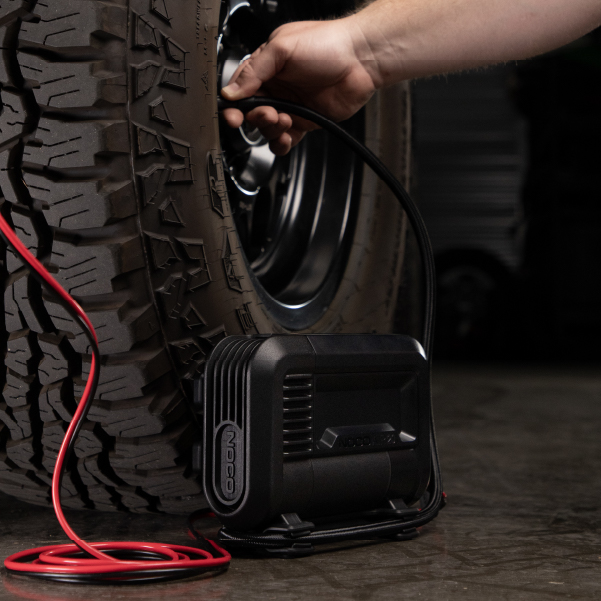
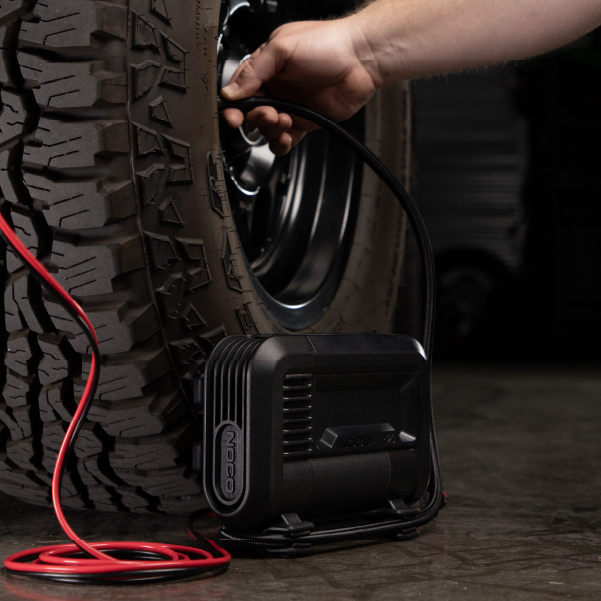
Connect the air hose on the AIR20 to the tire before starting inflation. The air hose will screw onto the tire's air valve. No tools are necessary and should be hand tightened.
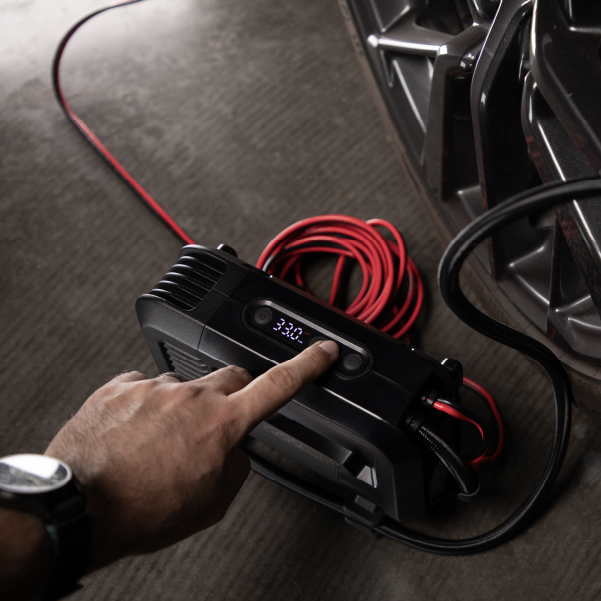
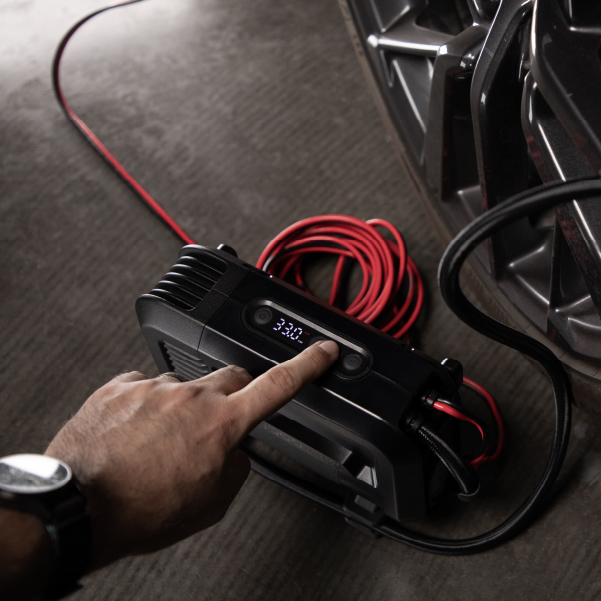
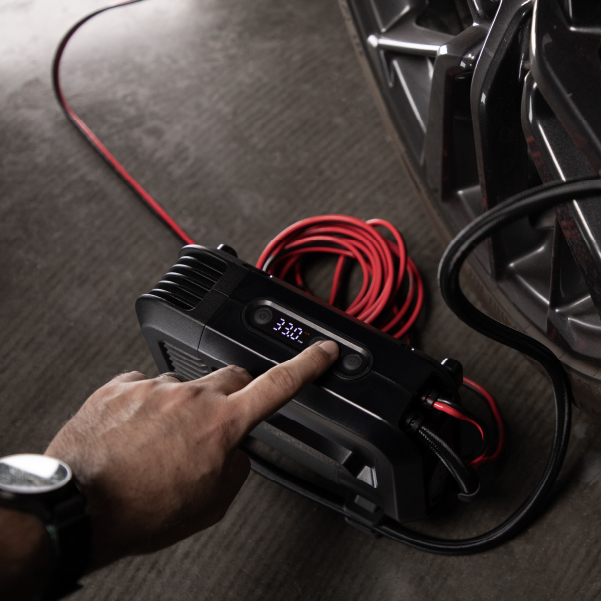
SET PSI.
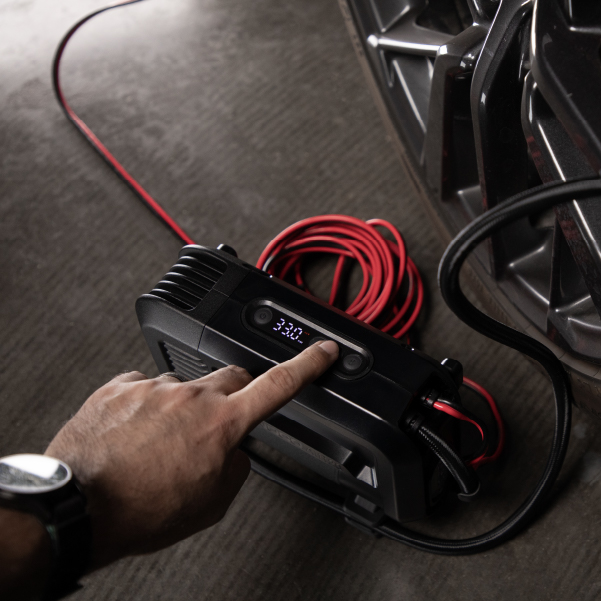
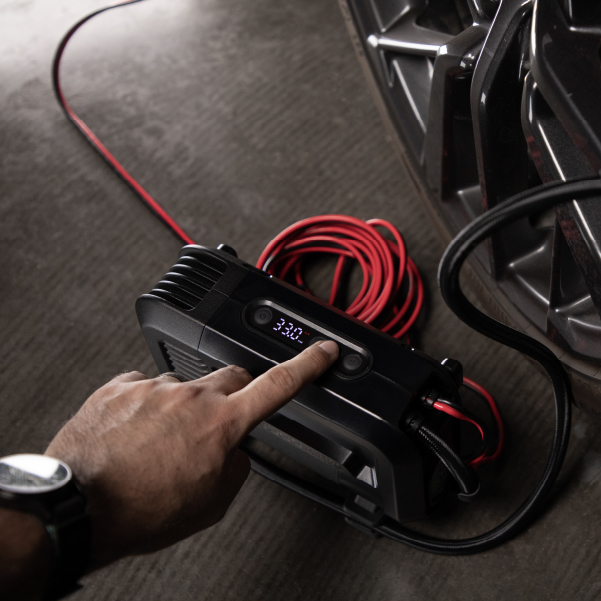
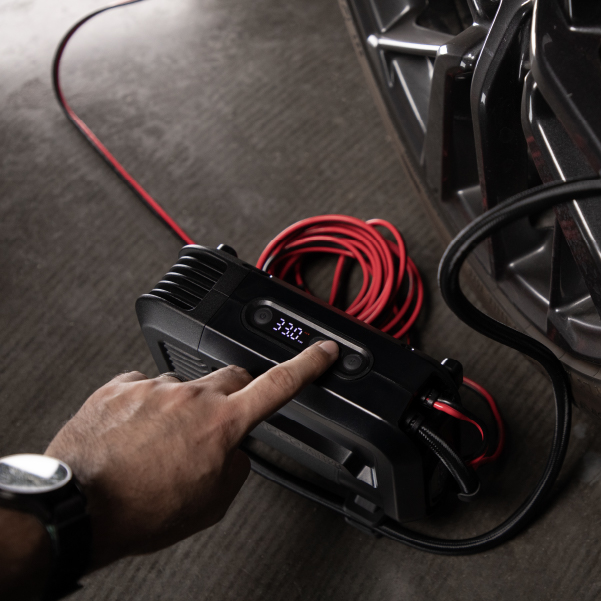
To set the pressure, press the < or > buttons. The minimum pressure that can be set is 15.0 PSI. For applications requiring less than 15.0 PSI, it is recommended to use Manual Mode.
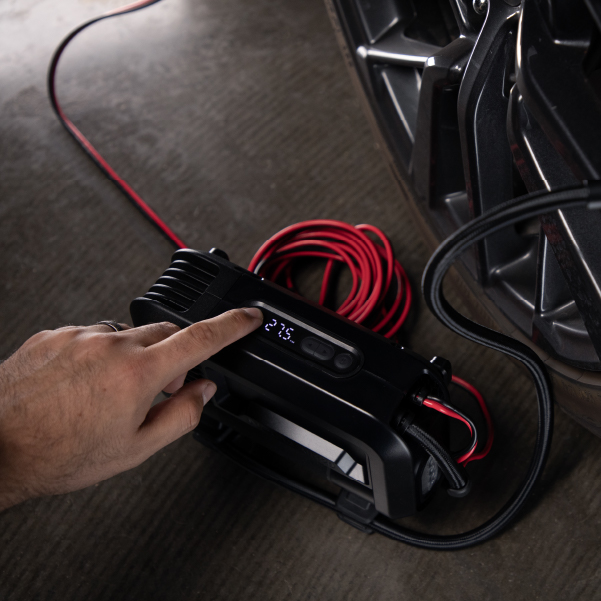
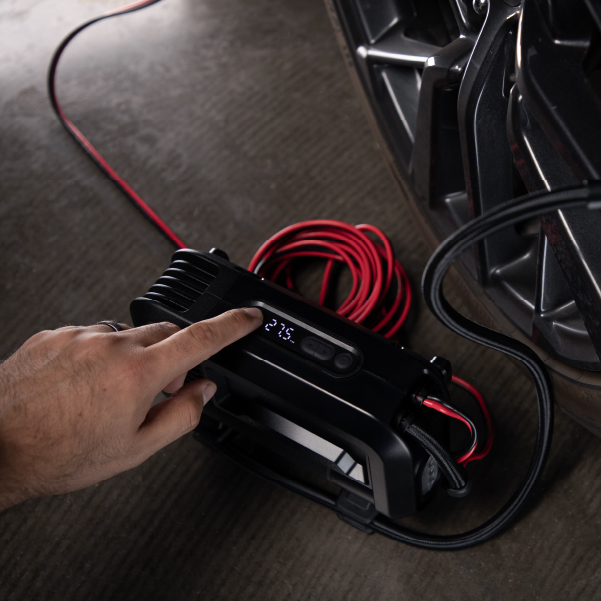
POWER ON.
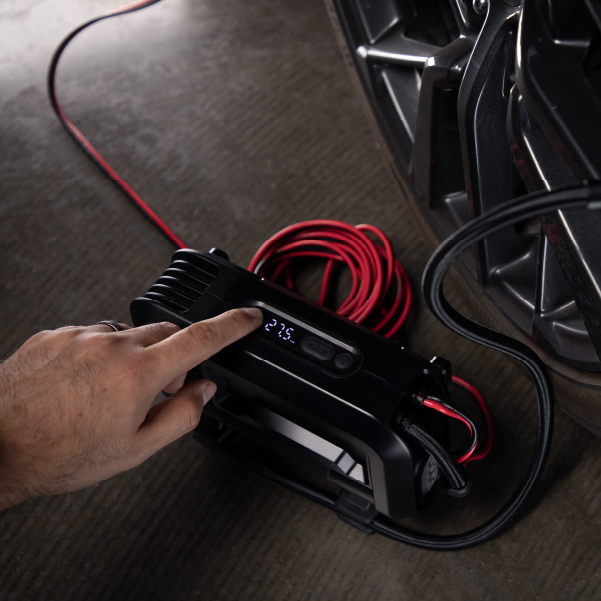
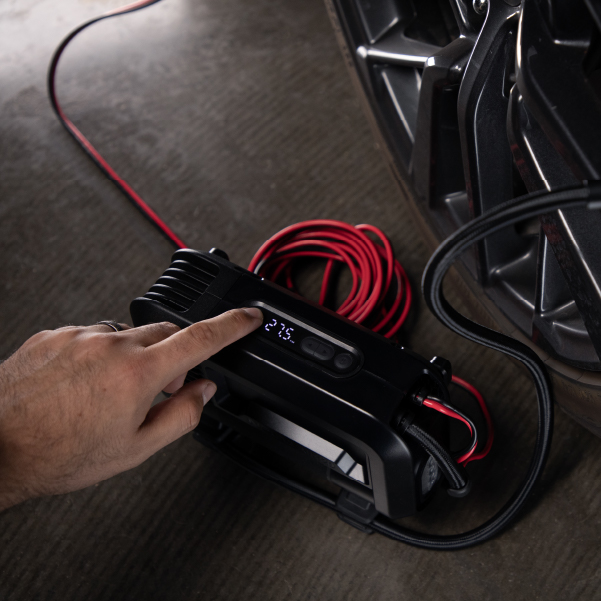
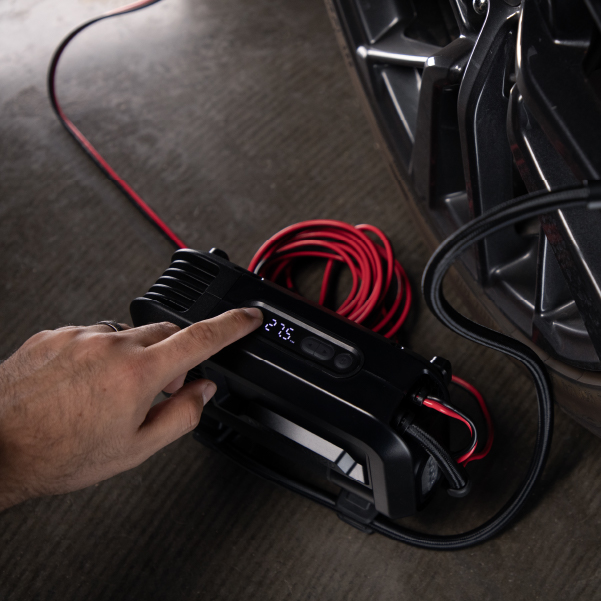
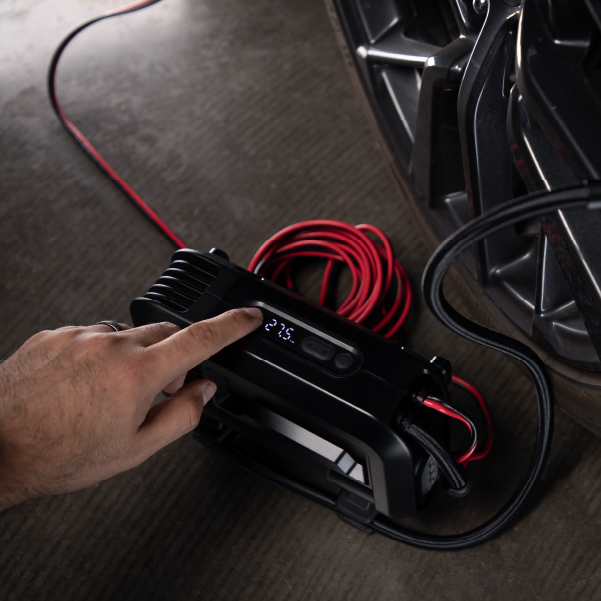
Power button is pressed, the compressor will turn on and will display the actual pressure and the “SET” LED will turn off. The compressor will turn off when the desired pressure has been reached.
Intuitive Pressure Gauge.
AIR20
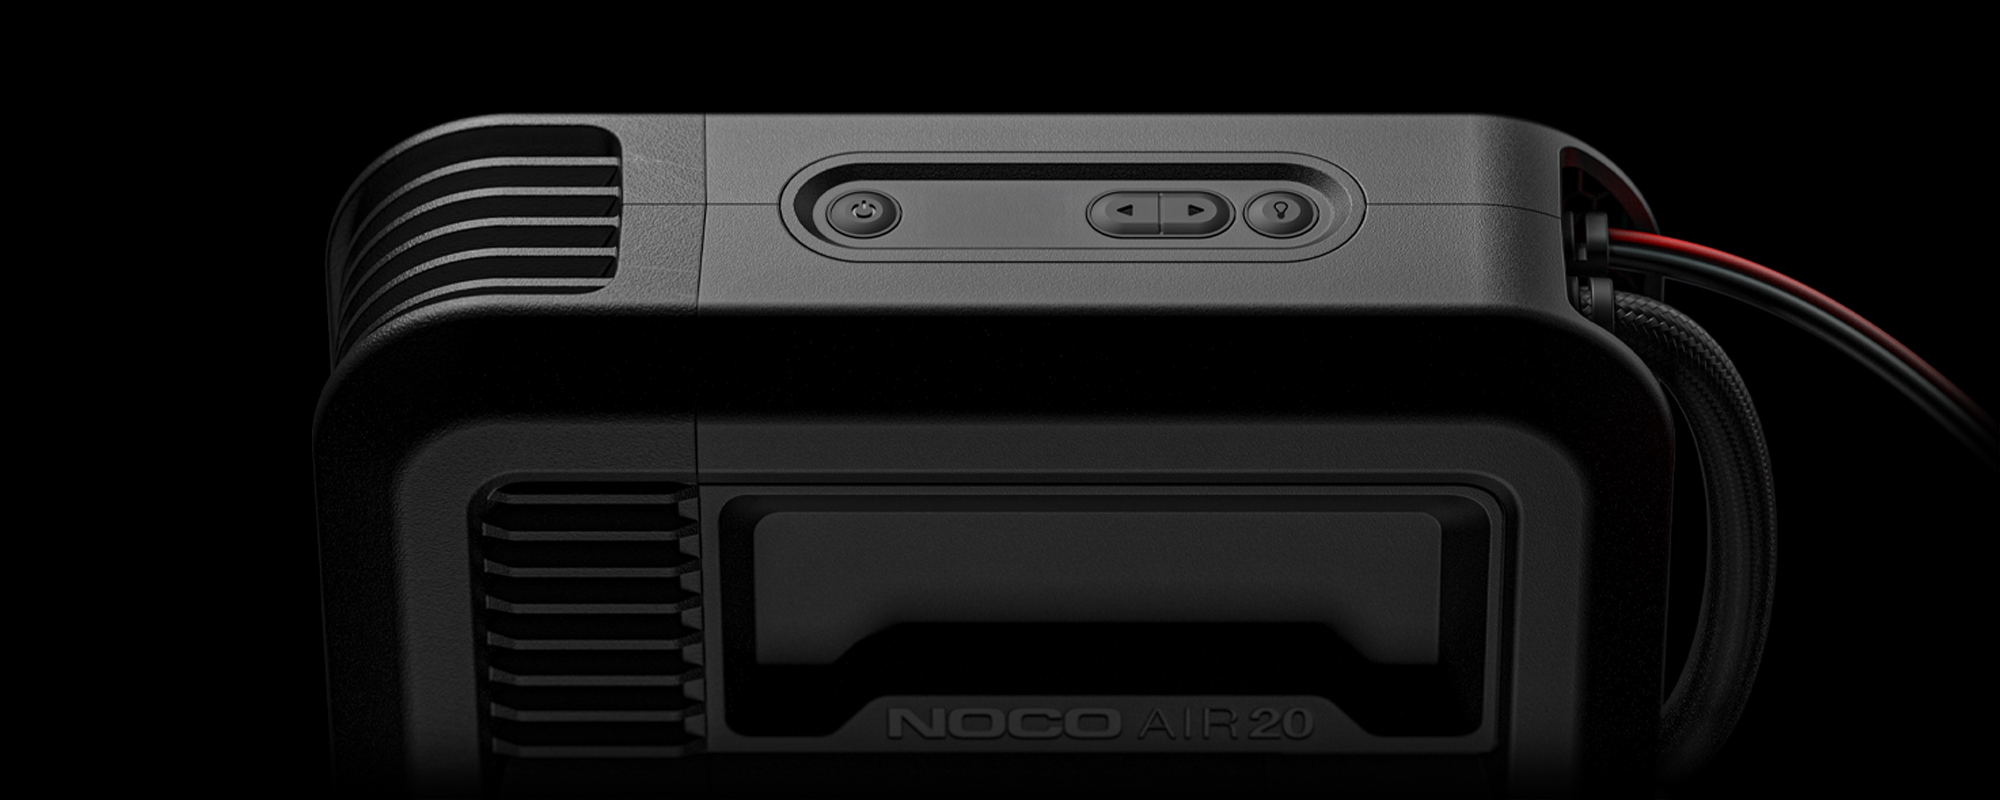
Set Pressure
When the display is in pressure set mode the “SET” LED will illuminate. Use the arrow buttons to set the desired pressure.
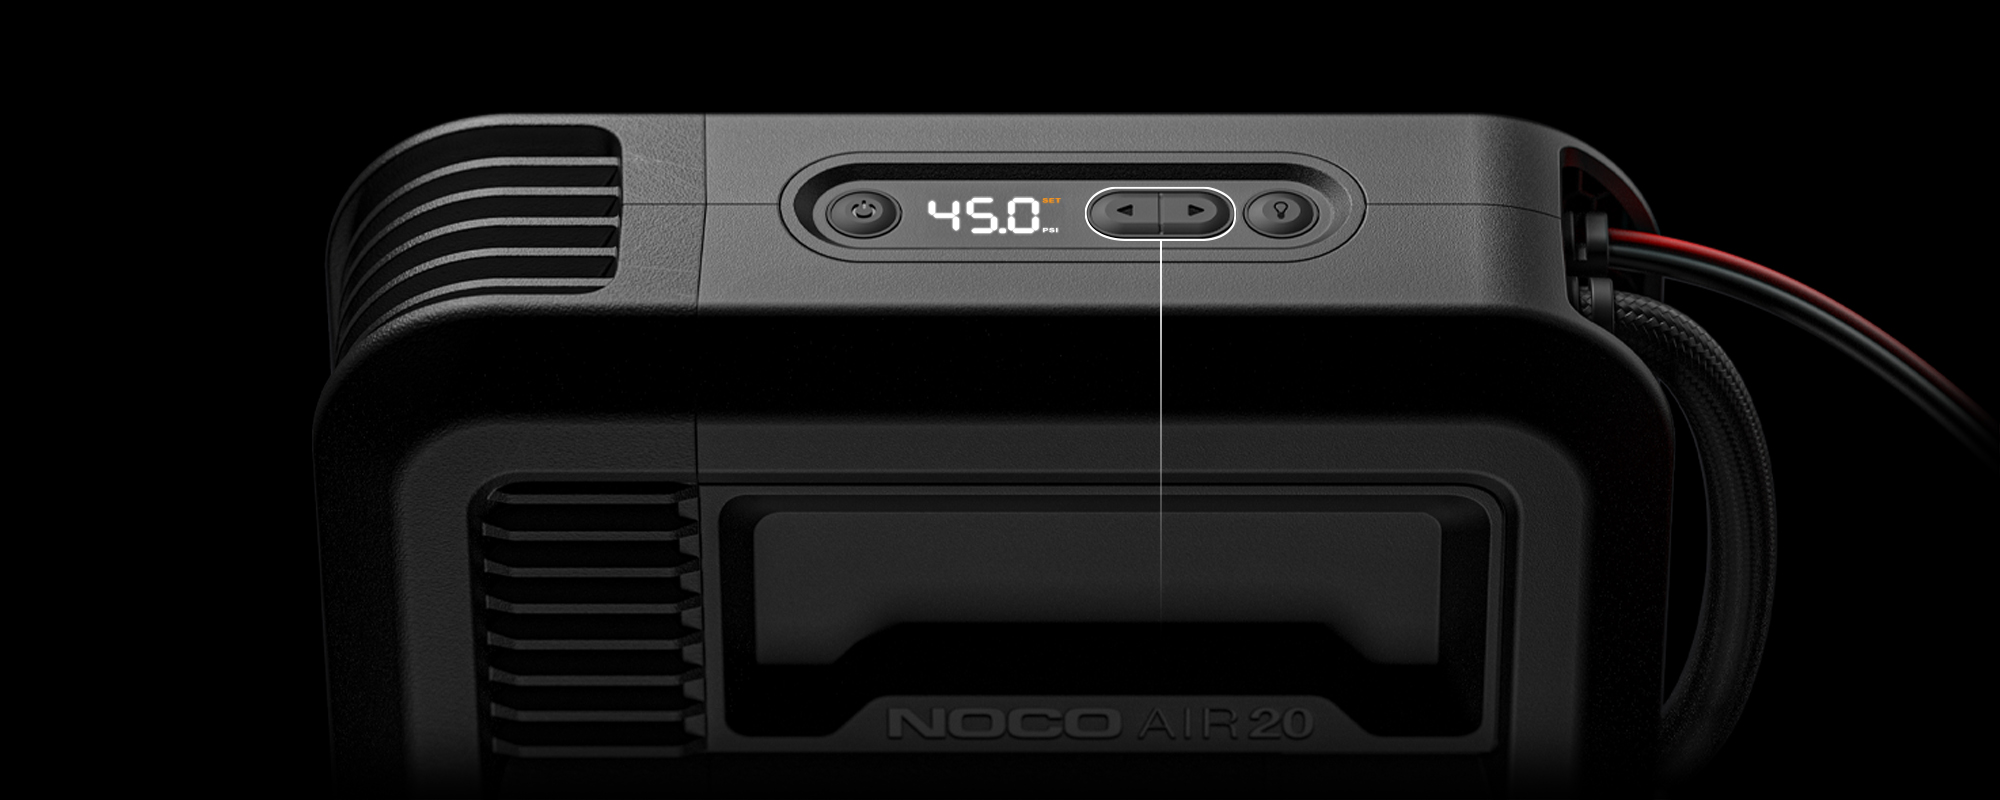

Actual Pressure
When the “POWER” button is pressed, the compressor will begin inflating, the “SET” LED will turn off and the actual pressure will be displayed.
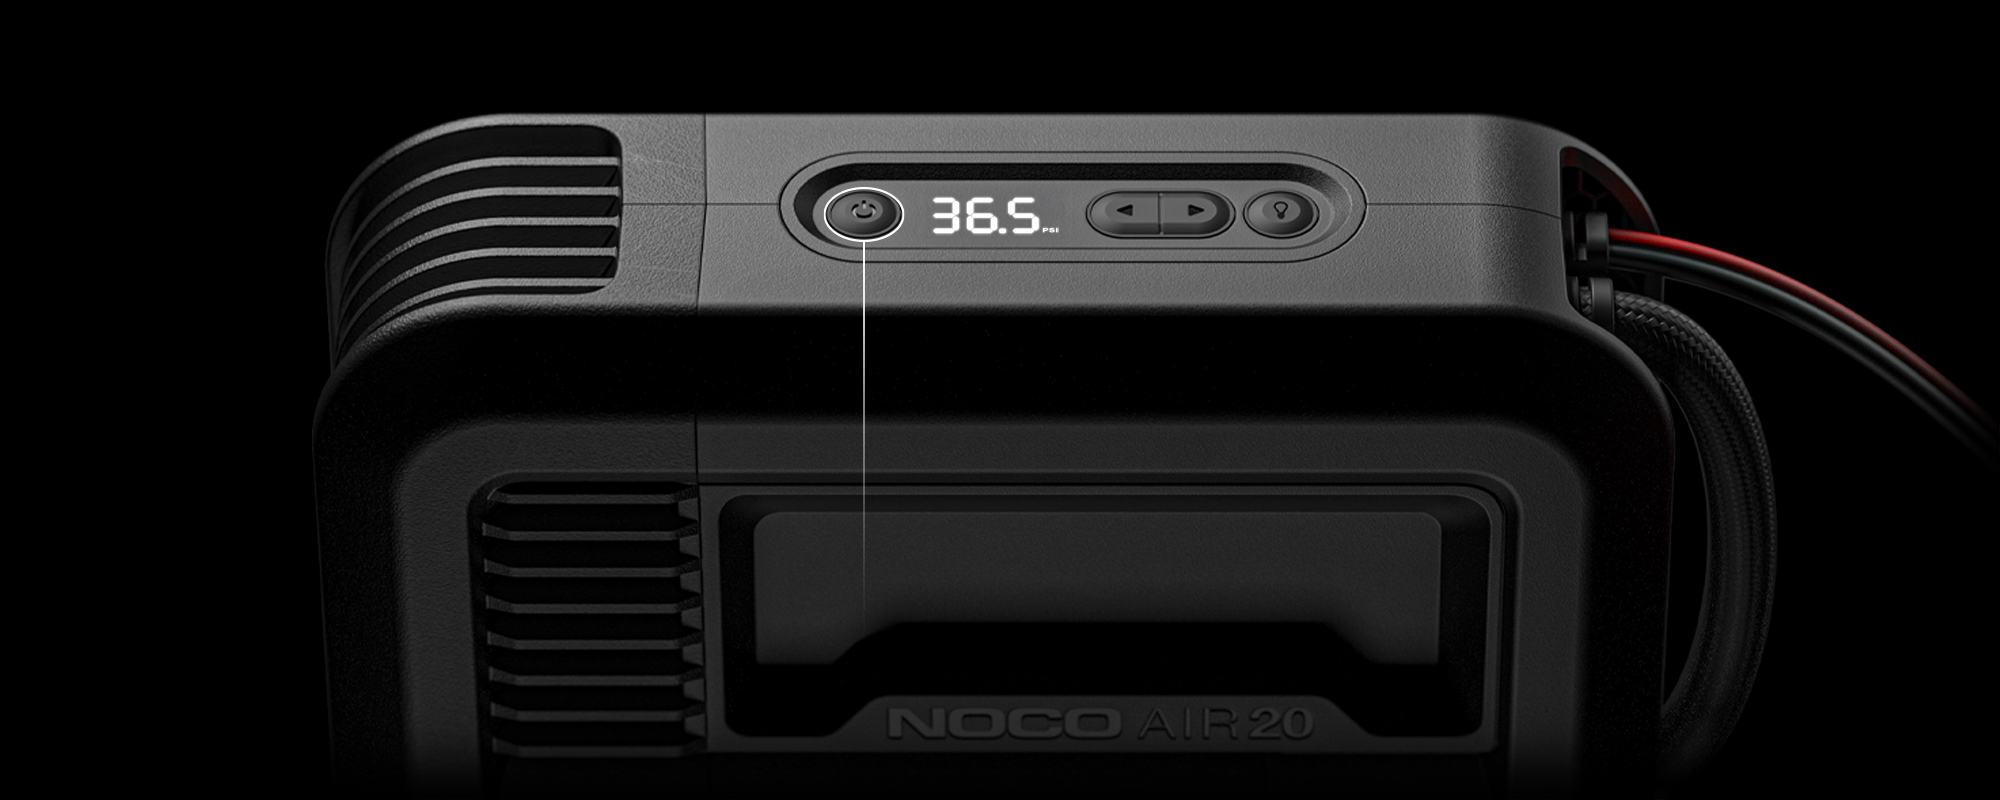

Change Units
To change units of pressure, hold both arrow buttons simultaneously for 3 seconds, use either arrow button to cycle through units.
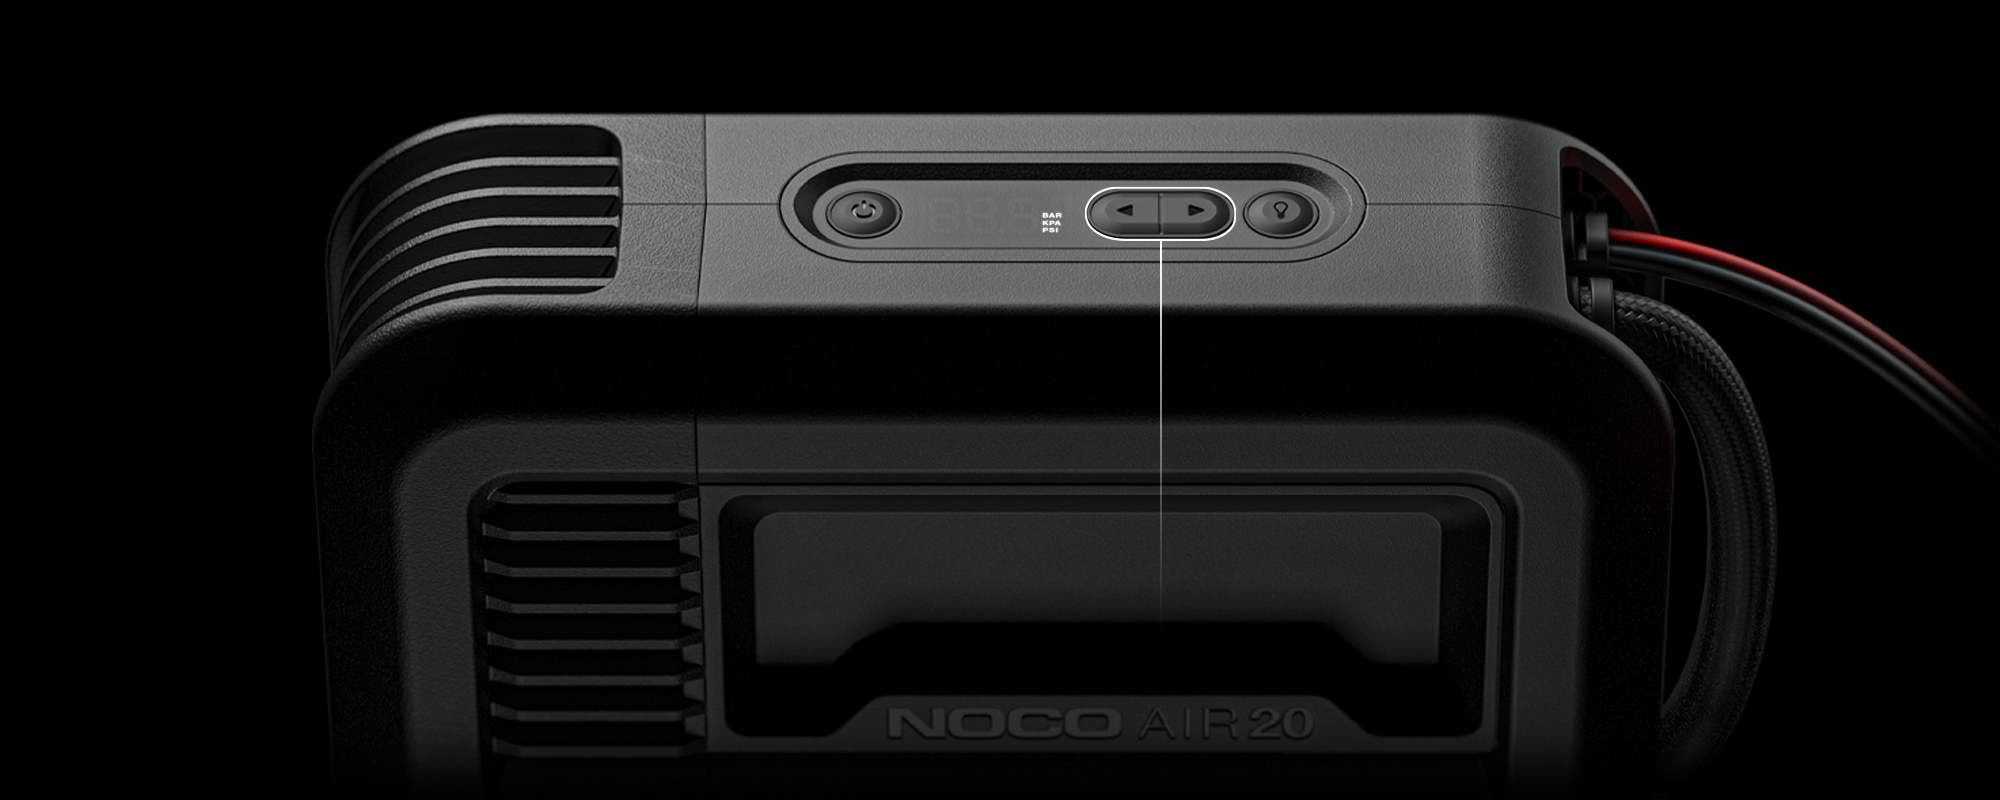

Auto-Shutoff
Auto-shutoff works when pressure is above 15 PSI. Simply set the pressure and start inflating. AIR will shut off when the desired pressure is reached.
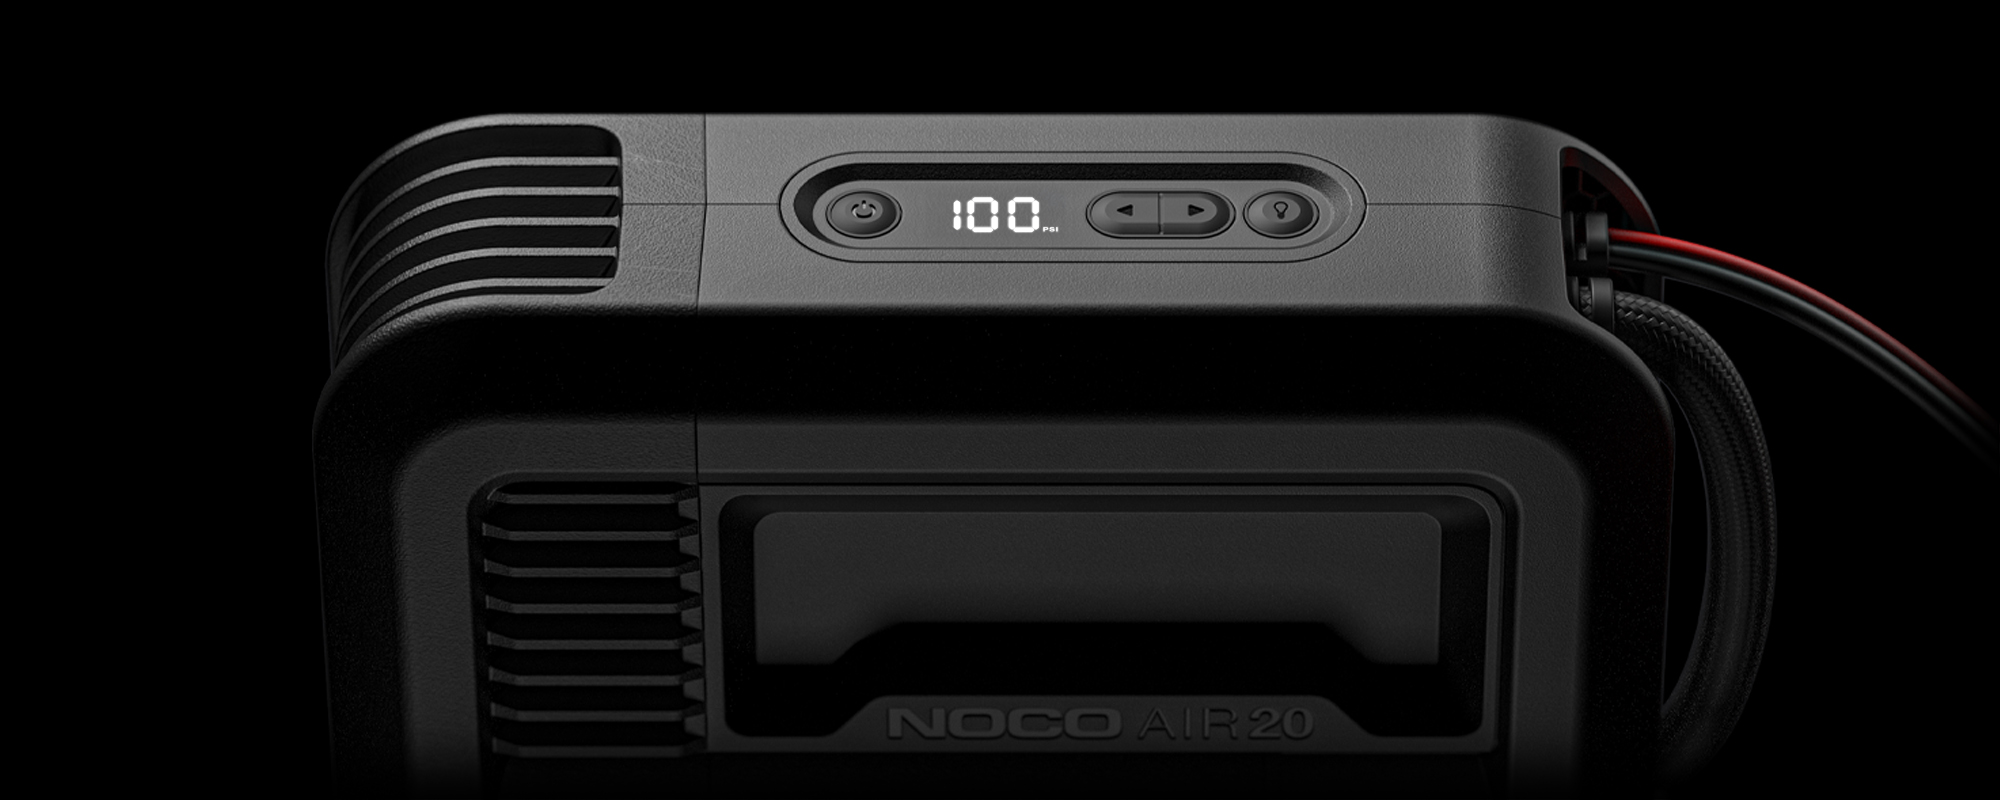

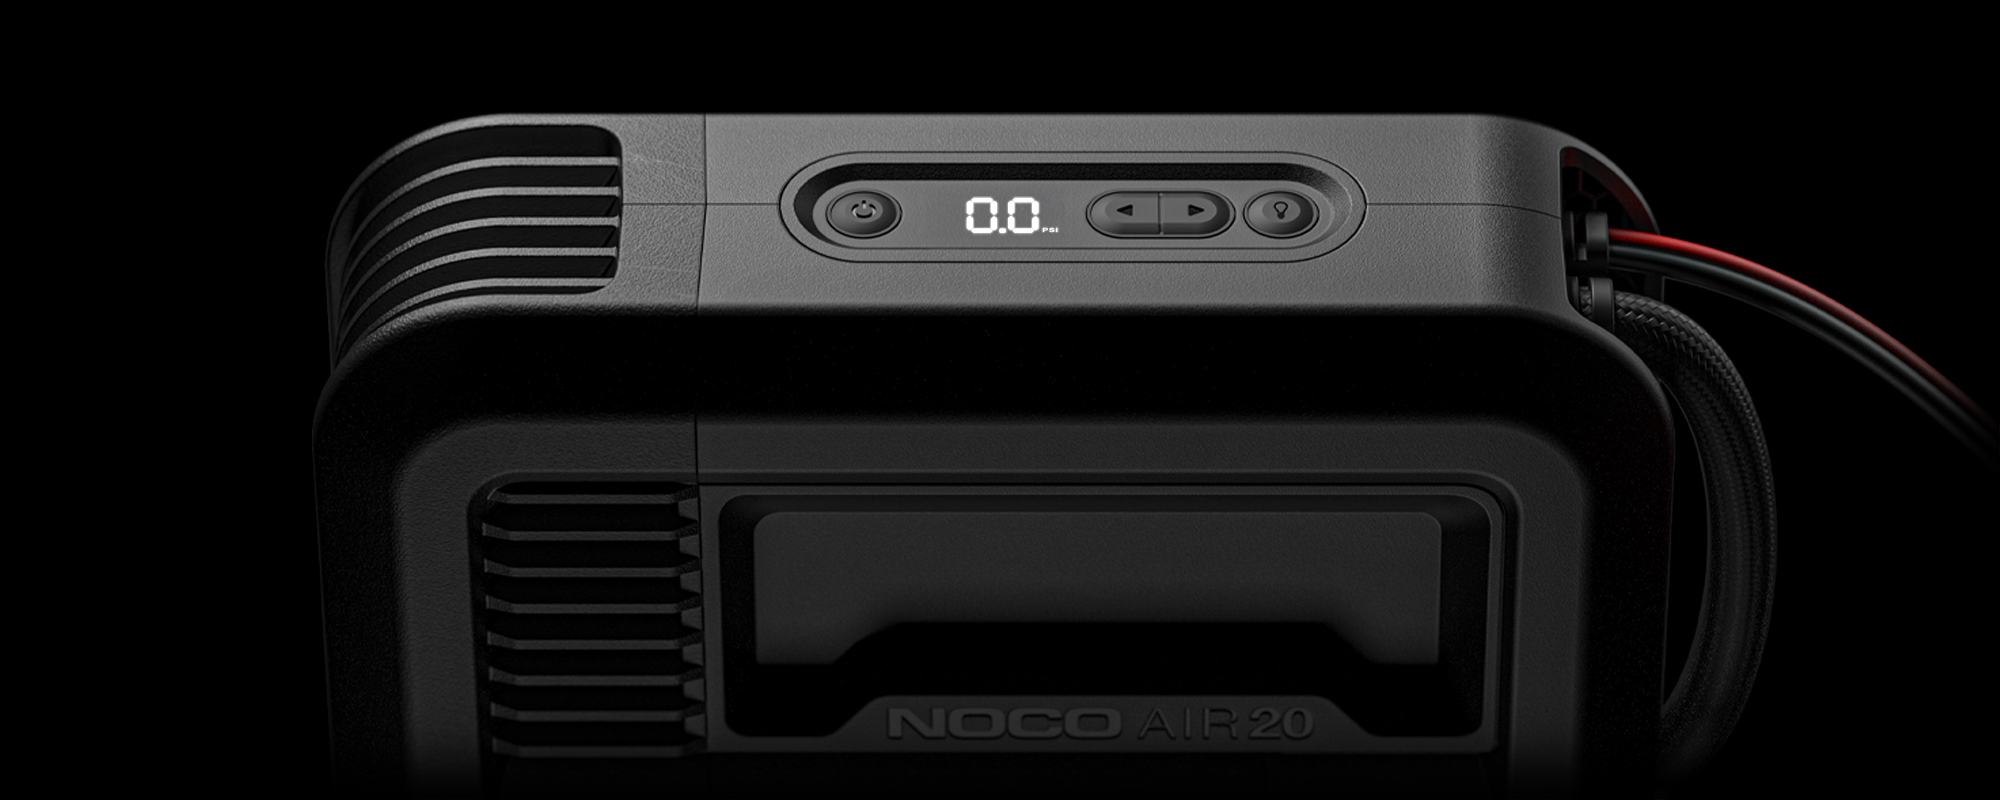
Manual Mode
When pressure is below 15 PSI, use manual mode. Set pressure to 0.0 and press the "POWER" button. AIR will run until the "POWER" button is pressed again.

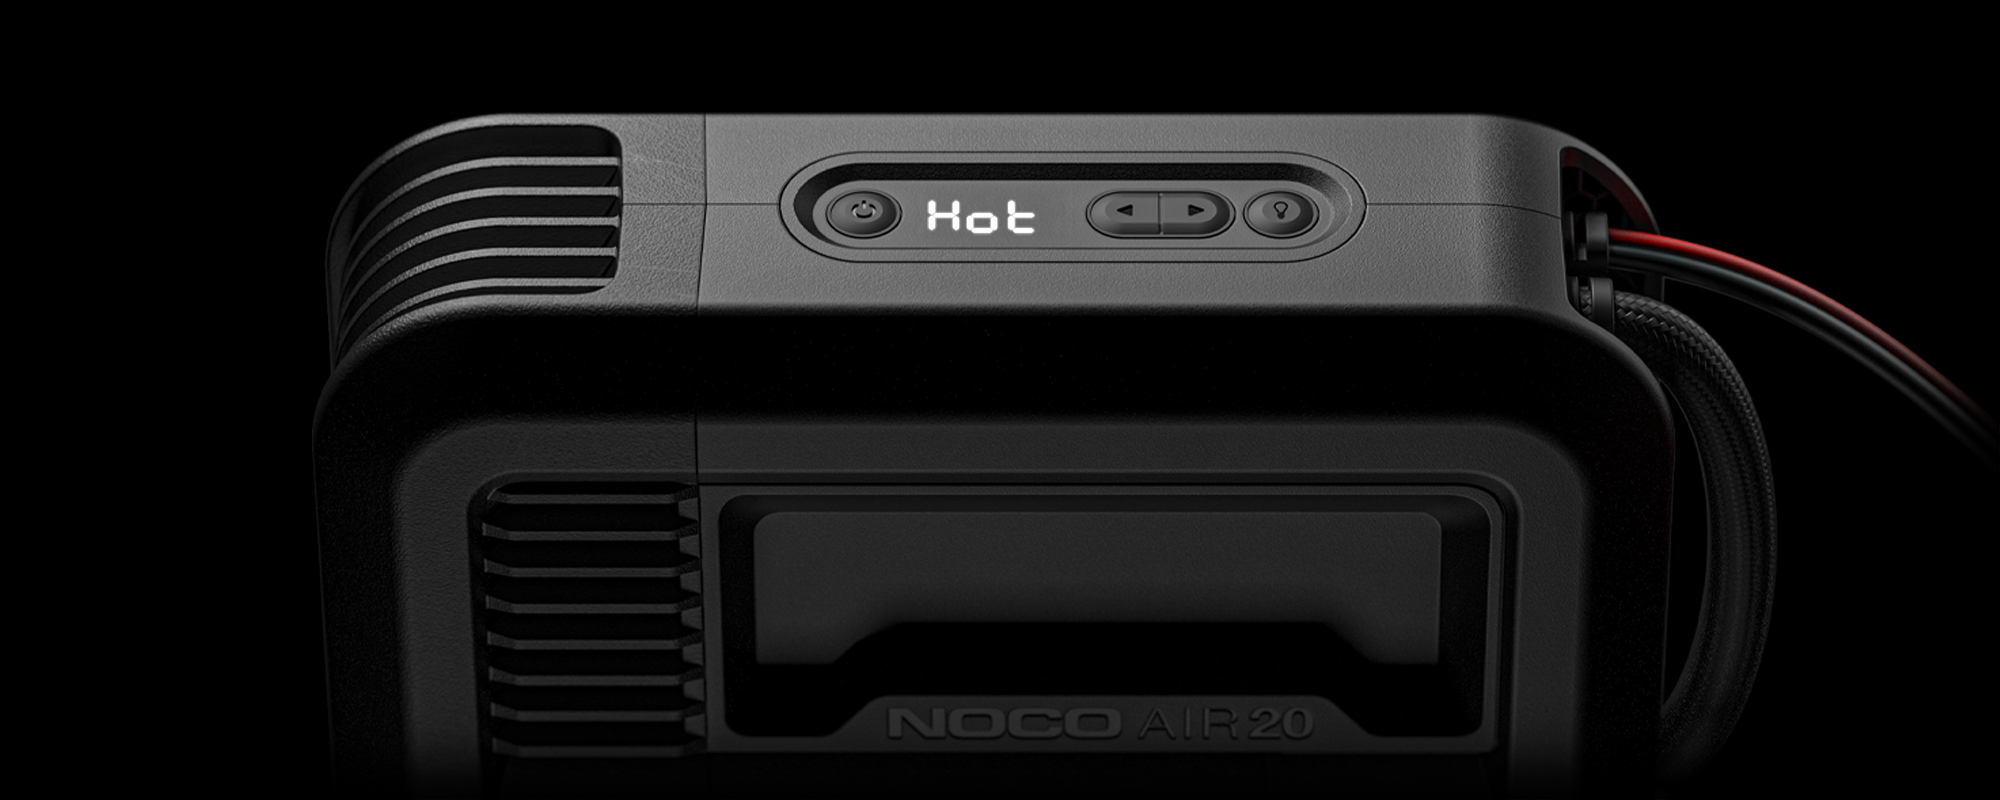
Error - Hot
Internal temperature is too high, the compressor will shut off. Wait for the unit to cool down before powering on again.

Error - Cold
Temperature is too cold, the compressor will shut off. Compressor can resume once temperature is back within limits.
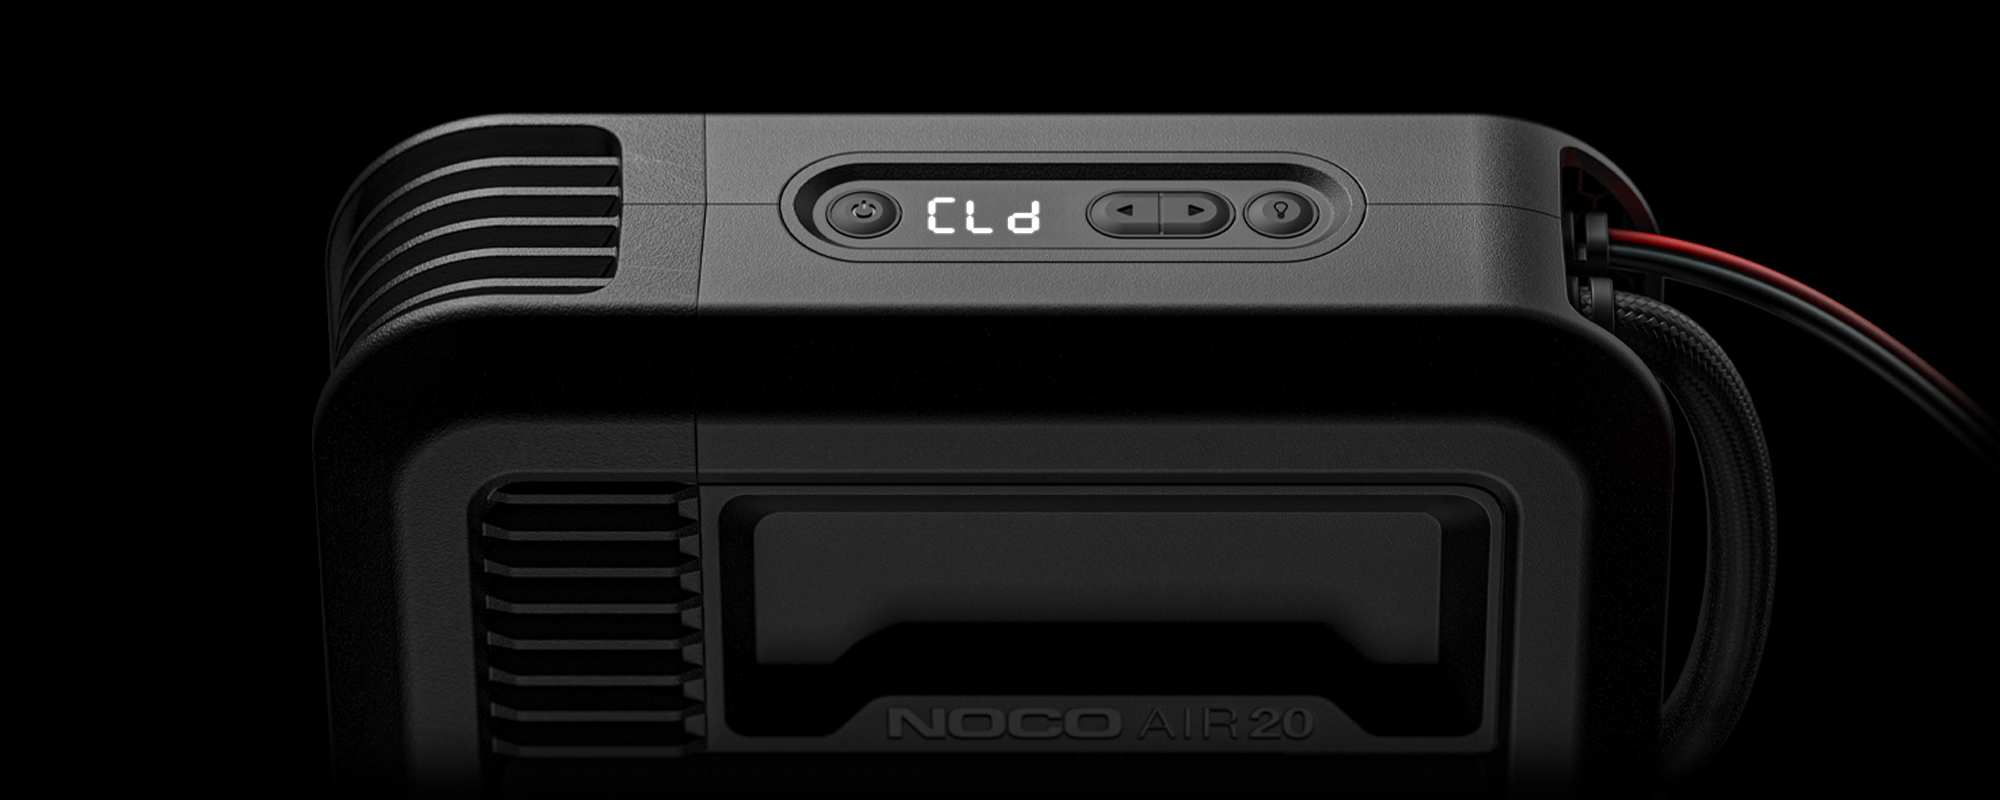

Buttons.
AIR20
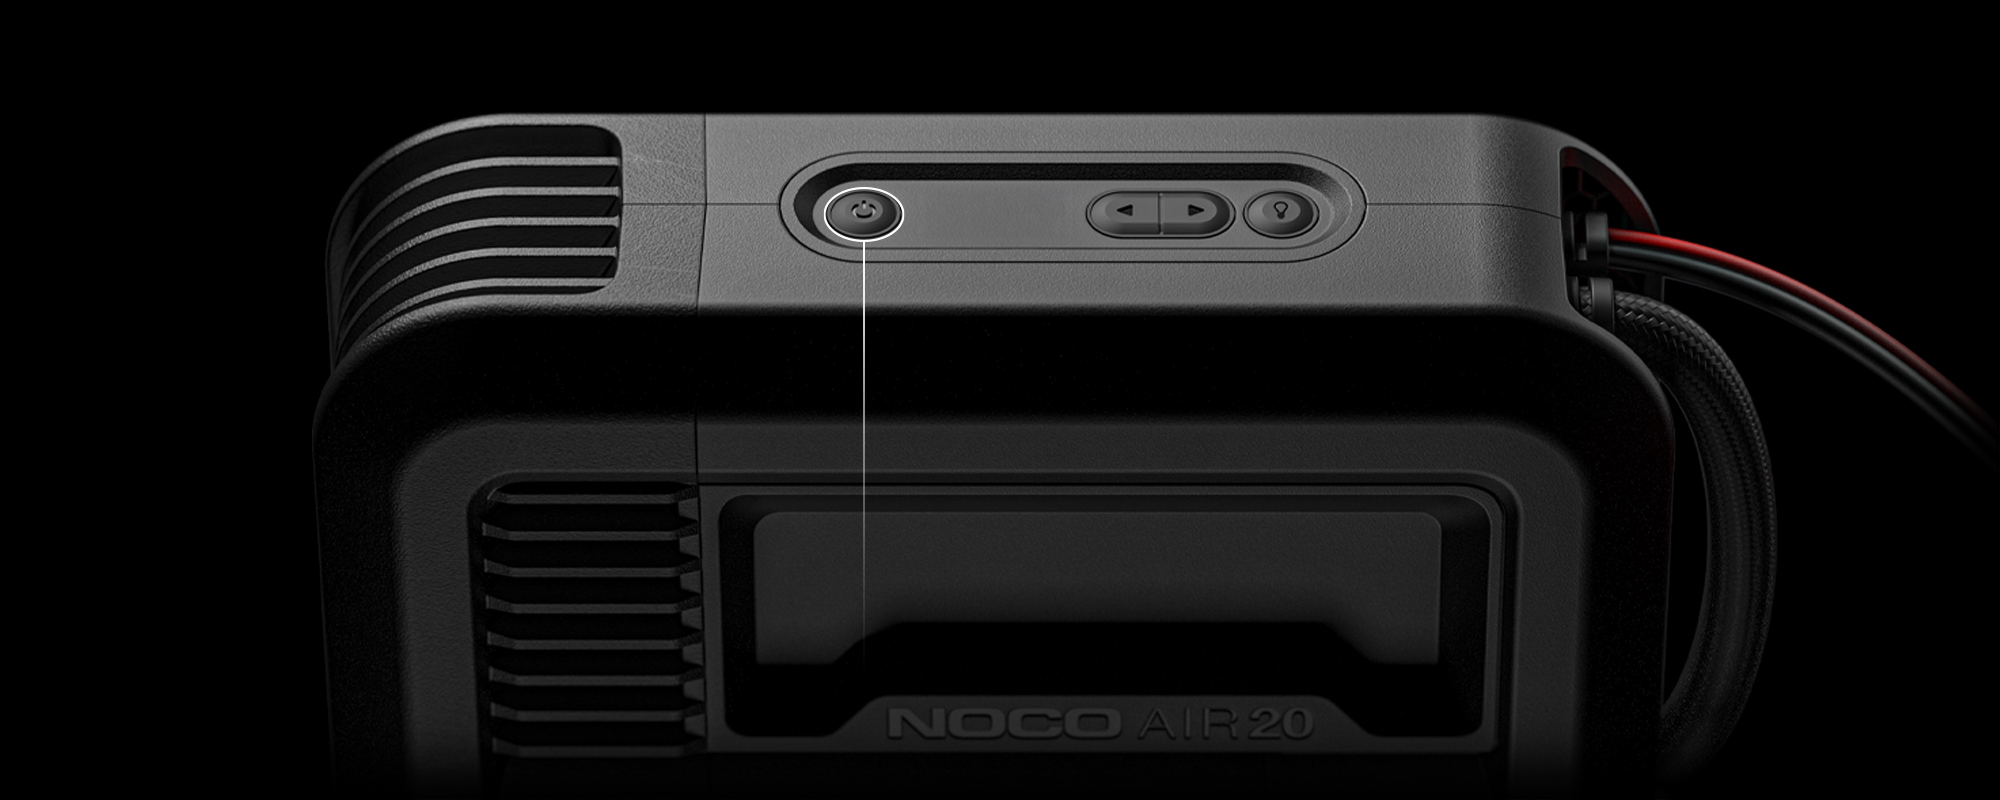
Power Button
Push to start or stop inflating.

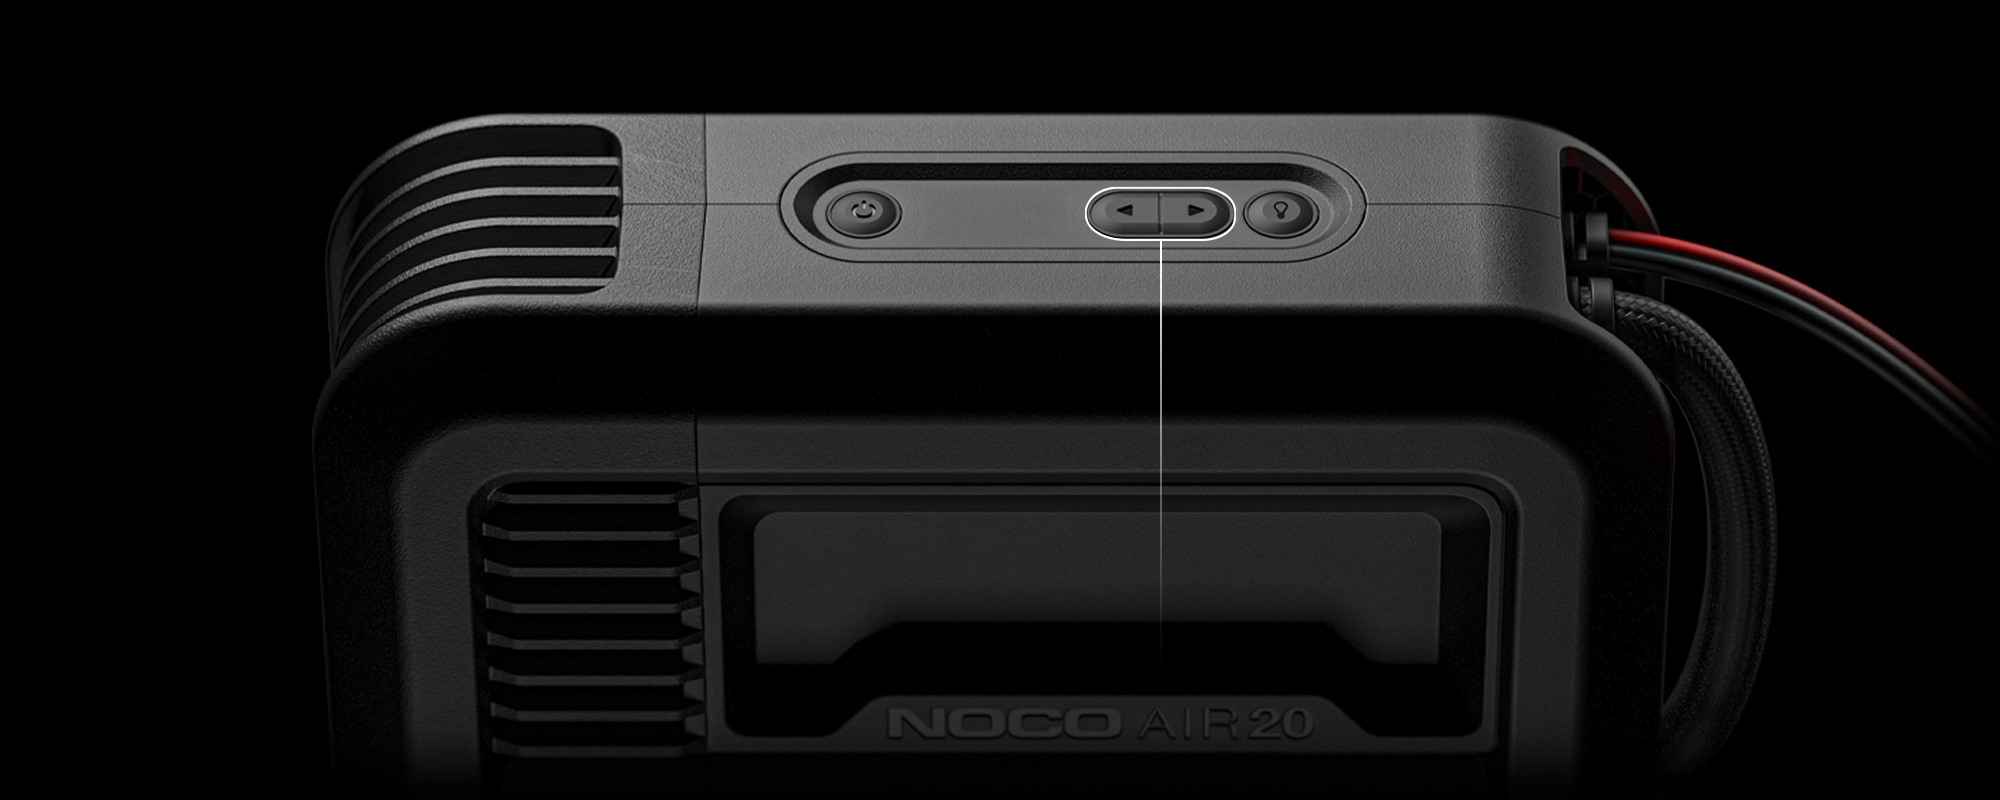
Arrow Buttons
Hold both Arrow Buttons to begin changing the pressure units. When LED Display is on, use the Arrow Buttons to change the set pressure.

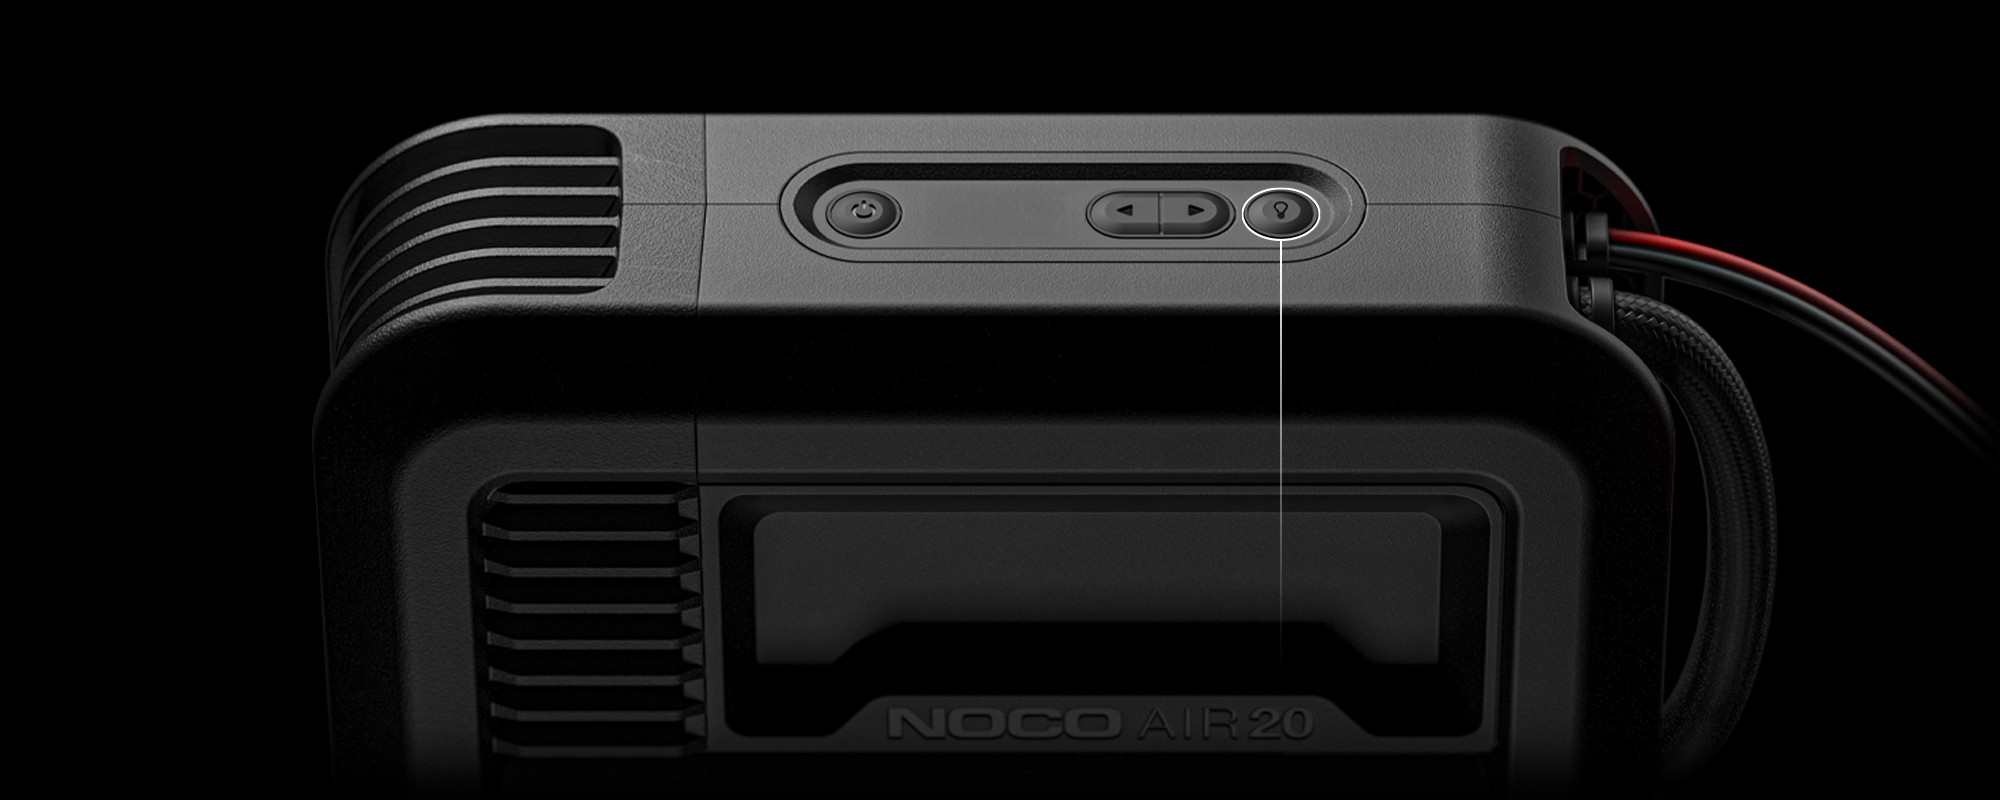
Light Mode Button
Toggles the ultra-bright LED light through 6 light modes: 100% > 50% > 10% > SOS > Blink > Off.

AIR
1 YEAR WARRANTY.
All NOCO Air Portable Air Compressors come with a limited 1 Year warranty. Register your product after purchasing to qualify for the applicable warranty.
Register ProductView Warranty
Share on Facebook

Share on X

Share on Pinterest
Comment(s)
Recent Posts